Nominal value of clearances:
- The gap between the hood and the roof is 3.5±0.5 mm
Fit
1. Open the hood.
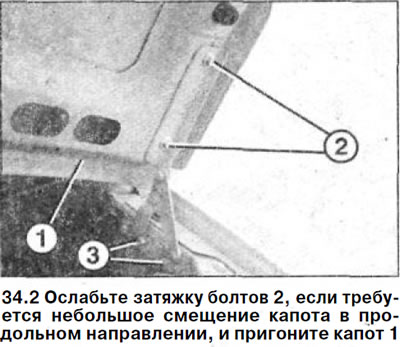
2. Loosen the bolts 2 if a slight displacement of the hood in the longitudinal direction is required, and fit the hood 1 (see illustration).

3. Loosen the hinge bolts 3, if a significant displacement of the hood in the longitudinal direction is necessary, and fit the hood (see illustration 34.2).
4. Adjust the hood so that it does not sink in relation to the front end and the upper contour of the wings.
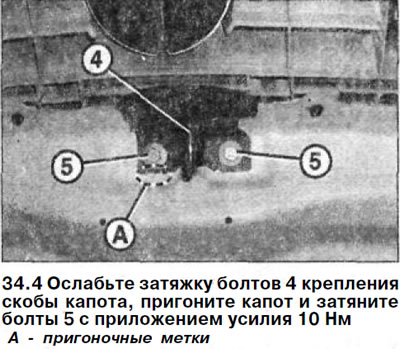
If the hood needs to be displaced for a long distance, loosen the bolts 4 fastening the hood bracket, fit the hood and tighten the bolts 5 with a force of 10 Nm (see illustration).

5. Tighten bolts 3 and 2 with 10 Nm (see illustration 34.2).
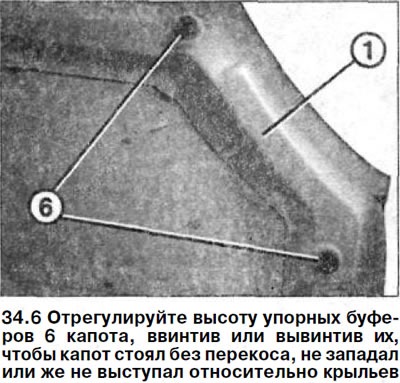
6. Adjust the height of the hood stop buffers 6 by screwing or unscrewing them so that the hood stands without distortion, does not sink or protrude relative to the wings (see illustration).

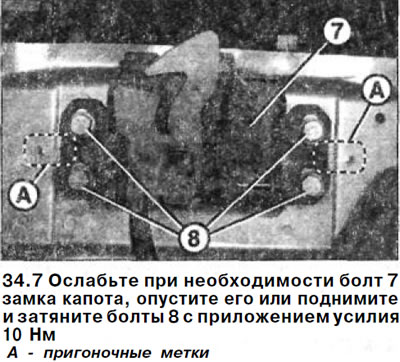
7. If necessary, loosen the bolt 7 of the hood lock, lower it or raise it and tighten the bolts 8 with a force of 10 Nm (see illustration).

Attention! To perform this operation, disconnect the air intake pipe and remove the hood latch cover.
8. Loosen bolts 2 and fit the hood in the transverse direction. After fitting is complete, tighten the bolts to 10 Nm (see illustration 34.7).
9. Loosen the bolts of the hood lock and fit it in the longitudinal and transverse directions relative to the bracket. After that, tighten the bolts of the lock with a force of 10 Nm.
10. Check the operation of the lock and latch of the hood by closing and opening the hood.
